[교재] 스프링 부트와 AWS로 혼자 구현하는 웹 서비스
1. lombok
1-1. lombok 이란 ?
Java의 라이브러리로, 비효율적으로 반복되는 메소드를 @Annotation을 사용하여 자동으로 작성되게 해준다.
class Point {
    private int x;
    private int y;

    Point() {  }

    public int getX() {
    	return this.x;
    }

    public int getY() {
    	return this.y;
    }

    public void setX(final int x) {
    	this.x = x;
    }

    public void setY(final int y) {
    	this.y = y;
    }

}↓↓↓
// lombok 사용

class Point {
    @Getter
    @Setter
    private int x;
    private int y;
}
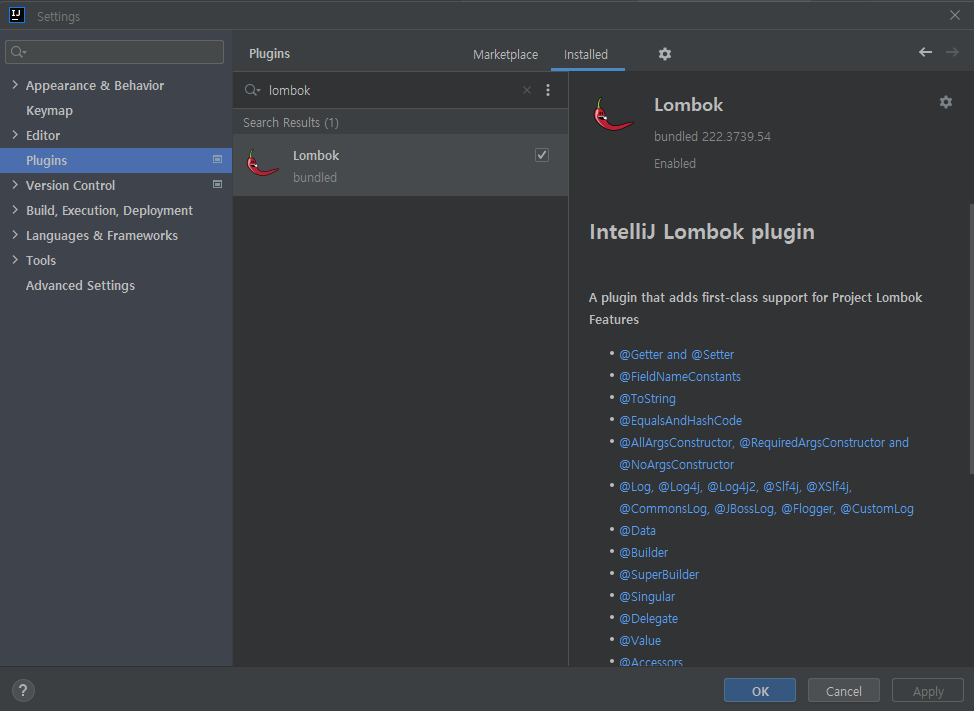
1-2. Spring boot에서 lombok 사용하기
Spring boot에서는 단순히 intelliJ의 Plugin으로 lombok을 다운 받아서 사용하면 된다.

2. Dto
| Dao (Data Access Object) | Dto (Data Transfer Object) | Vo (Value Object) |
| DB의 데이터에 접근하기 위한 객체 |
계층 간 데이터의 이동에 사용되는 객체 |
값을 저장하기 위한 객체 |
| DB에 접근하여 CRUD 한다. | getter, setter 메소드만 가지고 있음 | 사용 도중에 값의 변경 불가, 읽기만 가능함 ( ↔ Dto는 setter 있어서 값 변경 가능) |
3. Dto & DtoTest
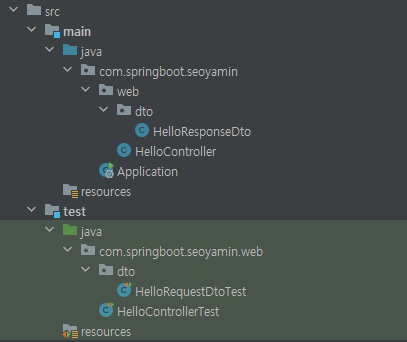
3-1. 폴더 구조
3-2. HelloResponseDto.java
package com.springboot.seoyamin.web.dto;

import lombok.Getter;
import lombok.RequiredArgsConstructor;

@Getter
@RequiredArgsConstructor
public class HelloResponseDto {

    private final String name;
    private final int amount;
}
💡 lombok의 @Getter 덕분에 getter 함수 직접 구현하는 코드 생략 가능함
💡 lombok의 @RequireArgsConstructor 덕분에 HelloResponseDto 클래스의 생성자 구현 코드 생략 가능
3-3. HelloResponseDtoTest.java
package com.springboot.seoyamin.web.dto;

import org.junit.Test;
import static org.assertj.core.api.Assertions.assertThat;

public class HelloRequestDtoTest {

    @Test
    public void 롬복_기능_테스트() {
        // given
        String name = "test";
        int amount = 1000;

        // when
        HelloResponseDto dto = new HelloResponseDto(name, amount);

        // then
        assertThat(dto.getName()).isEqualTo(name);
        assertThat(dto.getAmount()).isEqualTo(1000);
    }
}
3-4. HelloController.java
package com.springboot.seoyamin.web;

import com.springboot.seoyamin.web.dto.HelloResponseDto;
import org.springframework.web.bind.annotation.GetMapping;
import org.springframework.web.bind.annotation.RequestParam;
import org.springframework.web.bind.annotation.RestController;

@RestController
public class HelloController {

    @GetMapping("/hello")
    public String hello() {
        return "hello";
    }


    // **** 추가 ****
    @GetMapping("/hello/dto")
    public HelloResponseDto helloDto(@RequestParam("name") String name, @RequestParam("amount") int amount) {
        return new HelloResponseDto(name, amount);
    }
}
💡 @RequestParam
- 외부에서 해당 Controller API로 넘긴 parameter를 가져오는 어노테이션
ex ) 외부에서 @RequestParam("name")으로 넘긴 parameter를
helloDto 메소드의 parameter String name에 저장
3-5. HelloControllerTest.java
package com.springboot.seoyamin.web;

import org.junit.Test;
import org.junit.runner.RunWith;
import org.springframework.beans.factory.annotation.Autowired;
import org.springframework.boot.test.autoconfigure.web.servlet.WebMvcTest;
import org.springframework.test.context.junit4.SpringRunner;
import org.springframework.test.web.servlet.MockMvc;

import static org.hamcrest.Matchers.is;
import static org.springframework.test.web.servlet.request.MockMvcRequestBuilders.get;
import static org.springframework.test.web.servlet.result.MockMvcResultMatchers.*;


@RunWith(SpringRunner.class)
@WebMvcTest(controllers = HelloController.class)
public class HelloControllerTest {

    @Autowired
    private MockMvc mvc;

    @Test
    public void hello가_리턴된다() throws Exception {
        String hello = "hello";

        mvc.perform(get("/hello"))
                .andExpect(status().isOk())
                .andExpect(content().string(hello));
    }


    // **** 추가 ****
    @Test
    public void helloDto가_리턴된다() throws Exception {
        String name = "hello";
        int amount = 1000;

        mvc.perform(
                get("/hello/dto")
                    .param("name", name)
                    .param("amount", String.valueOf(amount)))
                .andExpect(status().isOk())
                .andExpect(jsonPath("$.name", is(name)))
                .andExpect(jsonPath("$.amount", is(amount)));
    }
}
💡 param
- API 테스트에 사용될 요청 parameter 설정
- 값은 String만 허용 (다른 데이터 타입으면 문자열로 바꿔줘야 함)
💡 jsonPath
- json 형식으로 들어온 응답값을 각각의 필드별로 검증할 수 있게 하는 메소드
- $ 기준으로 필드명 작성 ( $.name, $.amount )
'Spring > Spring Boot' 카테고리의 다른 글
| [Spring boot] application.yml의 이해 (0) | 2022.09.21 |
|---|---|
| [Vue.js - Spring Boot - MySQL] 프론트 & 백 연동 (0) | 2022.09.12 |
| [Vue.js - Spring Boot - MySQL] 프로젝트 생성 (0) | 2022.09.11 |
| [Spring Boot] Controller, ControllerTest (0) | 2022.08.29 |
| [Spring boot INIT] 개발 환경 설정, 프로젝트 생성(initializer) (0) | 2022.01.13 |


